

Description:
The actual completion date for this kit was August 2013 but it took me almost a year to really organize the photos and put it in the website ^^;
Some of the modifations performed for this kit were:
The internal frames could be painted to enhance the look of the kit but unfortunately laziness kicked in. Seems too much trouble to mask and hand paint..
And if you didn't notice yet (but I bet you already did), the dry transfer EFSF decal on the armor is not positioned properly.. It was really challenging to position the decal nicely especially when it's a dry transfer and you are putting it on a curved surface. Will need to find out how to do it next time.
I usually leave the stands/display bases unpainted and I did the same this time, but it seems quite obvious in the photos that they are completed unpainted and you can tell from the color contrast. Will put in a little more extra effort to paint the stands/display bases the next time.
The actual completion date for this kit was August 2013 but it took me almost a year to really organize the photos and put it in the website ^^;
Some of the modifations performed for this kit were:
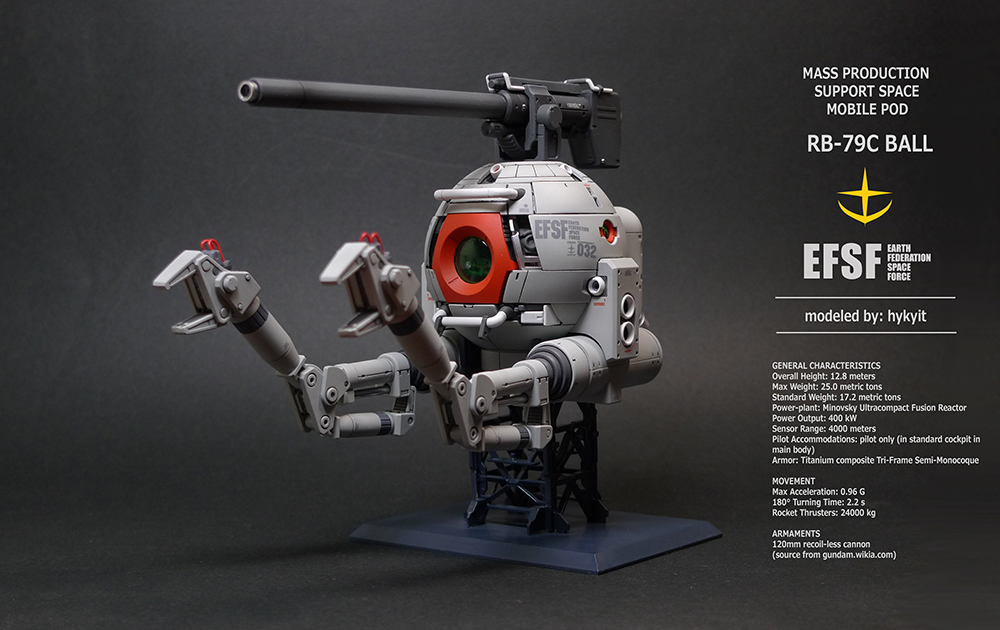
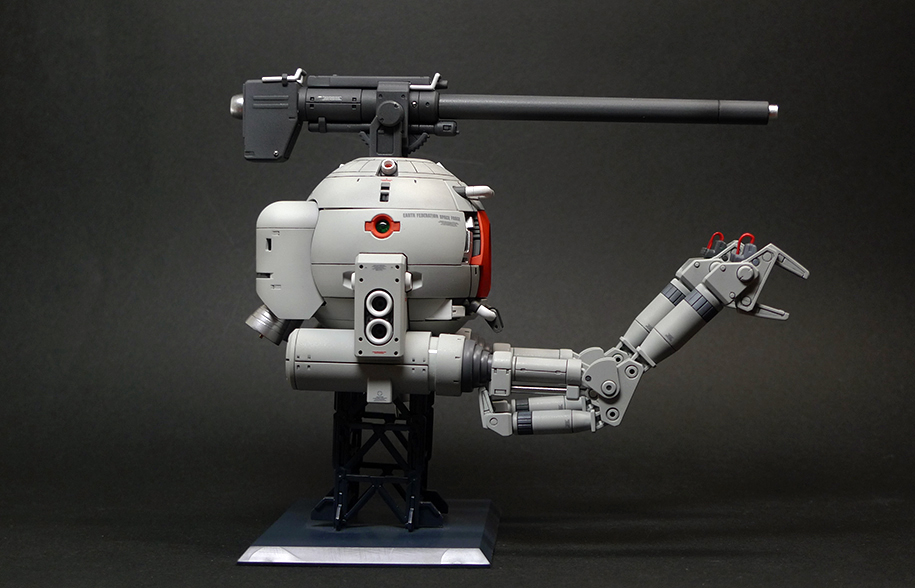
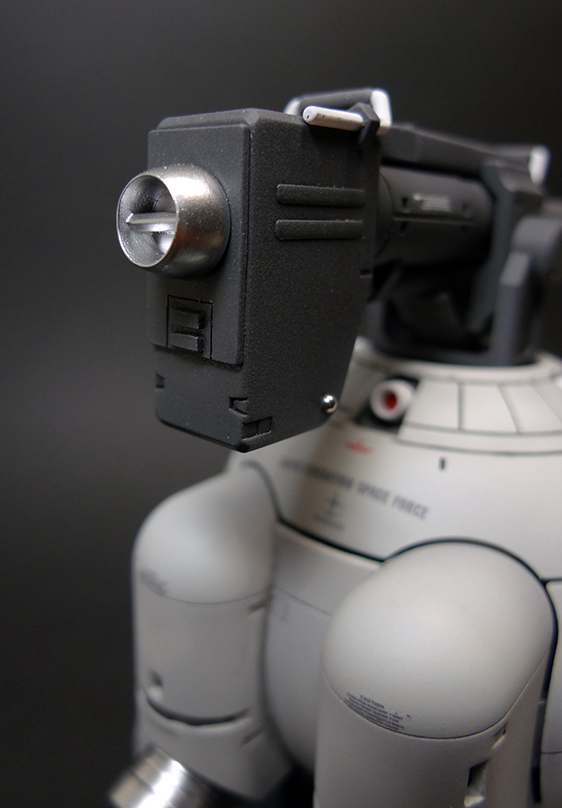
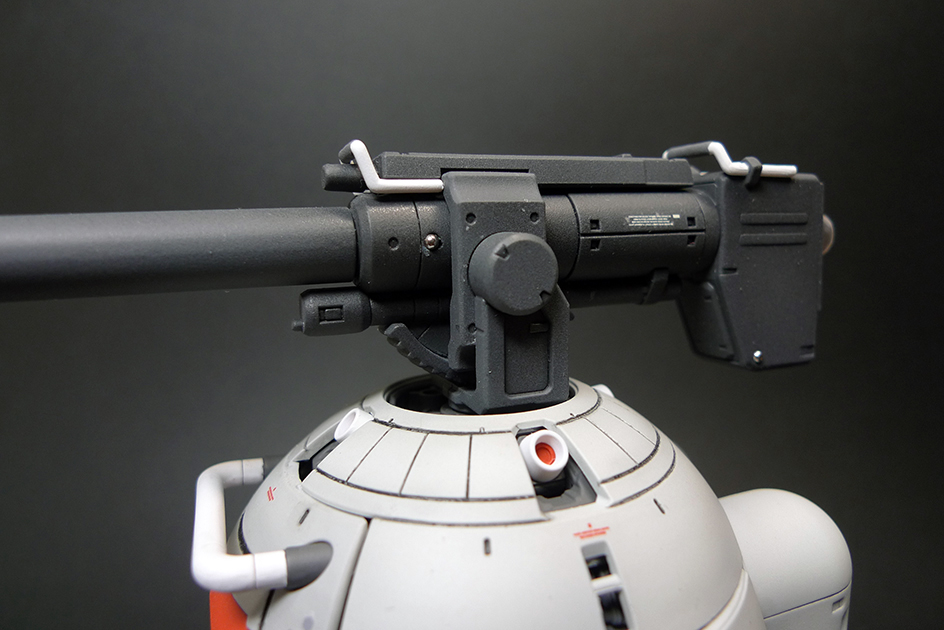
- Putting on some of the after market metal balls on the cannon.
- Tried to seperate out the part at the back of the cannon to allow for easier painting instead of performing masking. The original part was replaced by the Kotobukiya one's though.
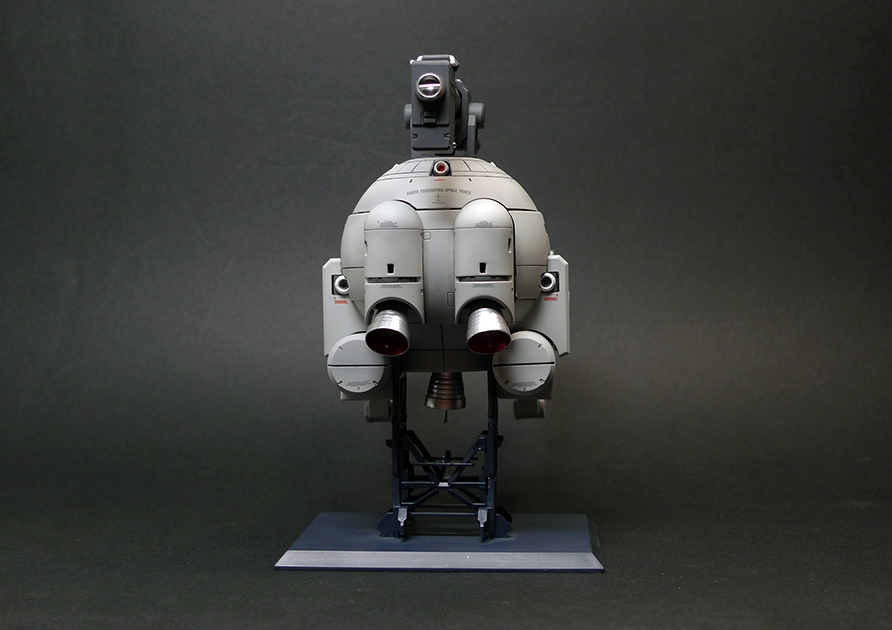
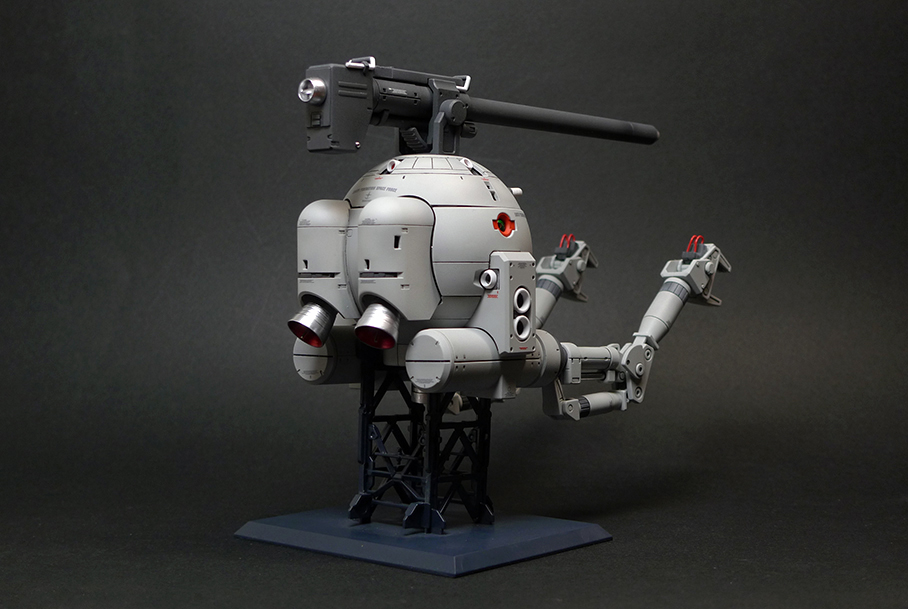
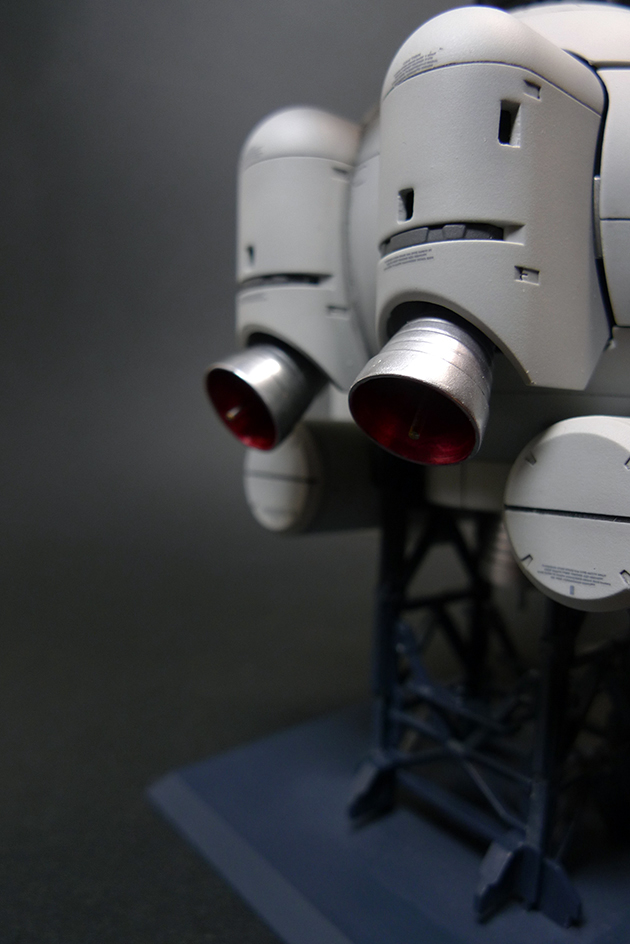
- Made vent holes at the back of the kit just above the thrusters for some extra details.
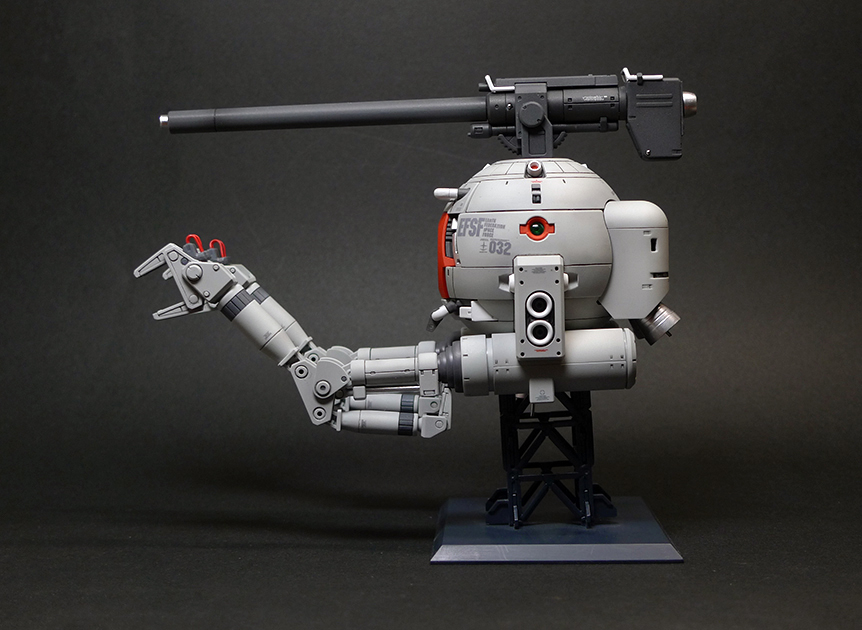
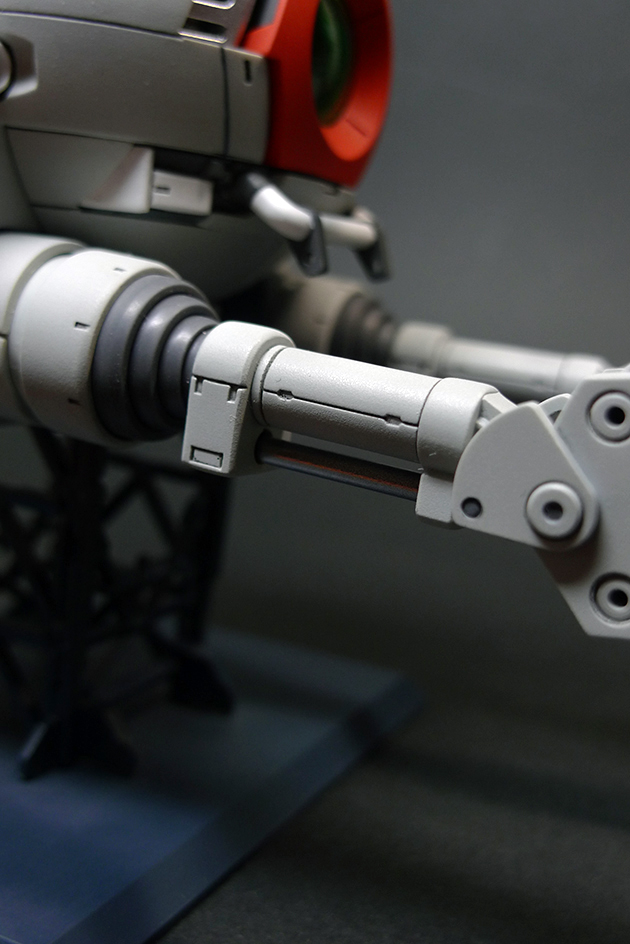
- Made some modification on the arms of the kit so that the seam lines could be removed and also allow the arms to be slotted in again after cementing to prevent from the pain of masking.
- Added an extra pla pipe at the tip of the cannon to enhance the detail.
- Added iron rods to the thrusters to try to mimic some of the after market thrusters.
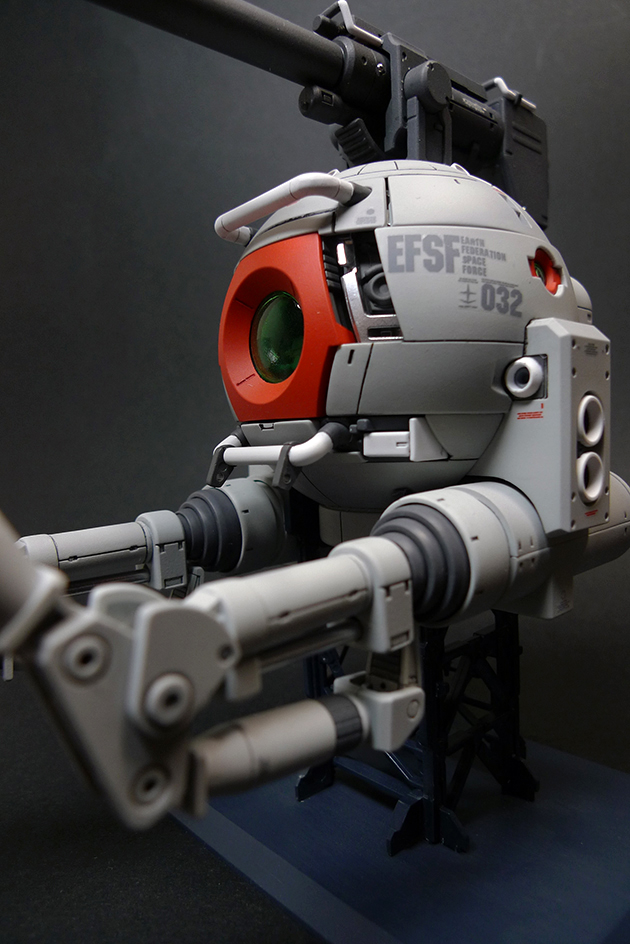
- A wtf moment as I lost one of the front armor parts of the kit and tried to scratch build it back again but couldn't really managed to replicate an exact one therefore I decided to remove it in the end thinking that the internal parts being exposed looks interesting (though impractical for a real battle).
The internal frames could be painted to enhance the look of the kit but unfortunately laziness kicked in. Seems too much trouble to mask and hand paint..
And if you didn't notice yet (but I bet you already did), the dry transfer EFSF decal on the armor is not positioned properly.. It was really challenging to position the decal nicely especially when it's a dry transfer and you are putting it on a curved surface. Will need to find out how to do it next time.
I usually leave the stands/display bases unpainted and I did the same this time, but it seems quite obvious in the photos that they are completed unpainted and you can tell from the color contrast. Will put in a little more extra effort to paint the stands/display bases the next time.
Photo:
These were probably the best photos that I had taken so far, with the lighting adjusted perfectly (probaly just a coincidence) and also as the kit was smaller, most of the pictures were able to be taken just by putting the camera on the table and adjusting the height and using timer so that the pictures that came out were crisp and sharp (I don't have a tripod by the way). Good pictures really enhance the final result and though I think I did a good job on the kit itself, the great photos made it look even better!
Full resolution of the wallpaper sized image can be found here:
4000 x 2520 (3MB)
Personal Note:
Bought this kit from Hobby Link Japan when they were having promotion and the price was a steal! This kit was meant for a fun build only actually and served as a project for me to hone my modelling skills and try out on things I've never done before.
Bought this kit from Hobby Link Japan when they were having promotion and the price was a steal! This kit was meant for a fun build only actually and served as a project for me to hone my modelling skills and try out on things I've never done before.