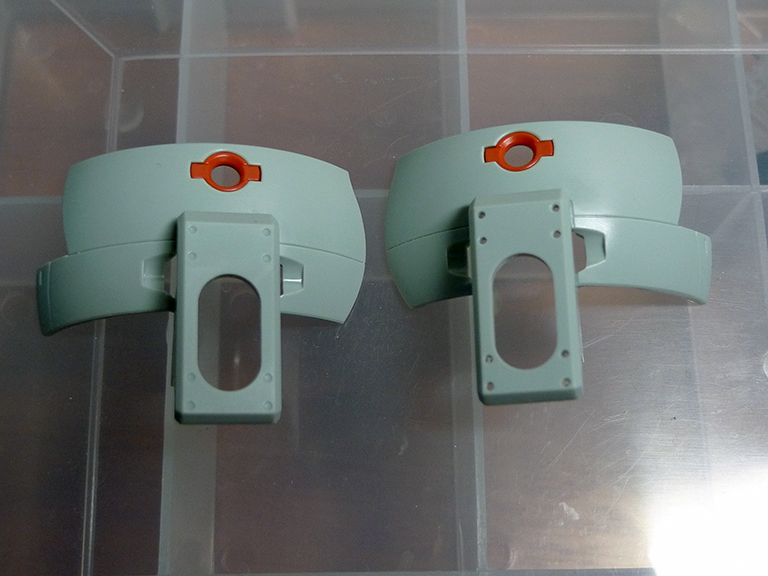
Drilled holes to add extra details on the armor.
Carved some holes as well to add extra details.
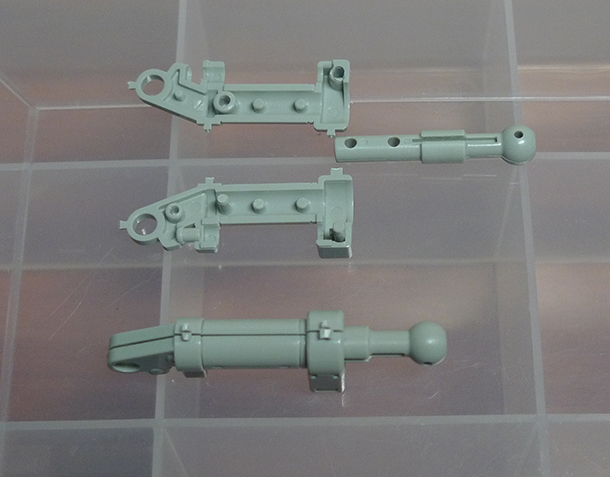
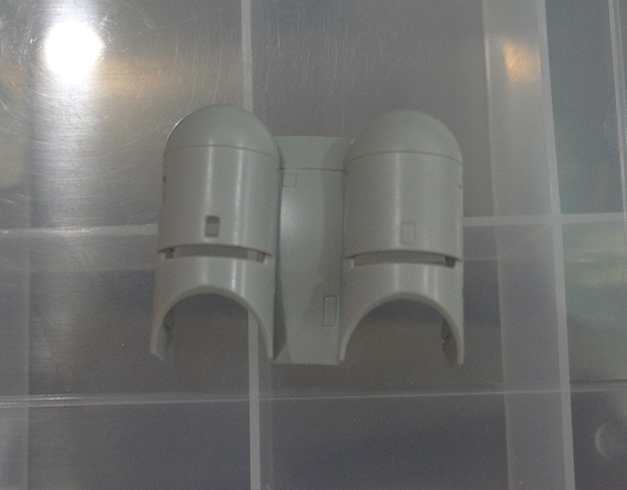
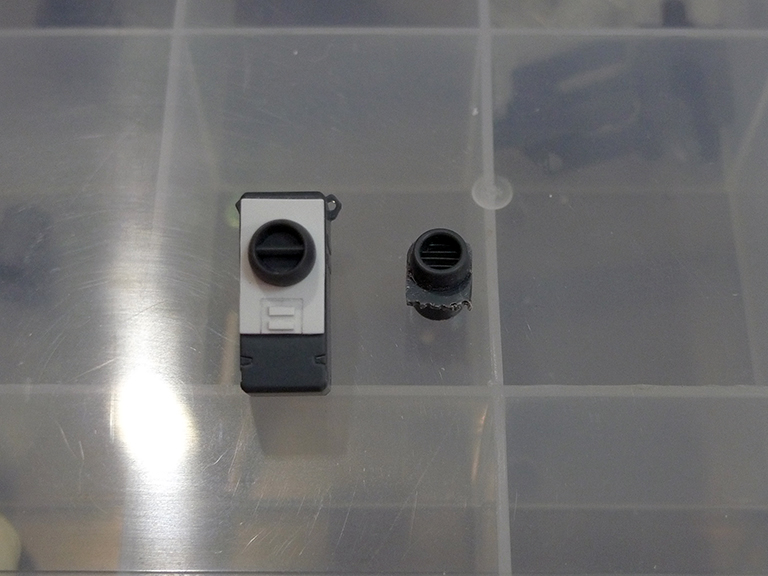
The arm was a little challenging because I wanted to remove the seam lines by gluing the two pieces together. However, if I do so, the arm would be stuck with the 'connector' to the main body and that would be a pain to paint. Also, that would mean that the iron rod provided will have to be masked as well when painting.


Left Picture: What I did was, removed the part which would fit into the hole (bottom part) by cutting and sanding it till it's all gone.
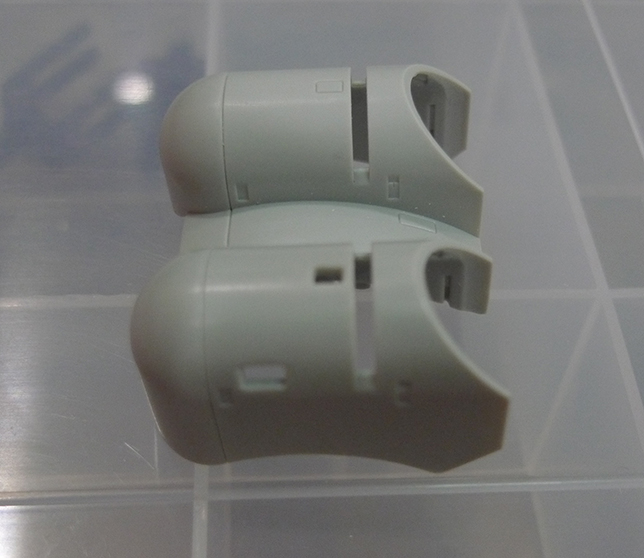
Right Picture: After that, I cut out some of the part on the right hand side (top part) so that we can slide the part in to the picture on the left and 'connect' it so that it won't slide out easily. Sorry for the bad explanation.. I don't think anybody would understand what I'm trying to say.
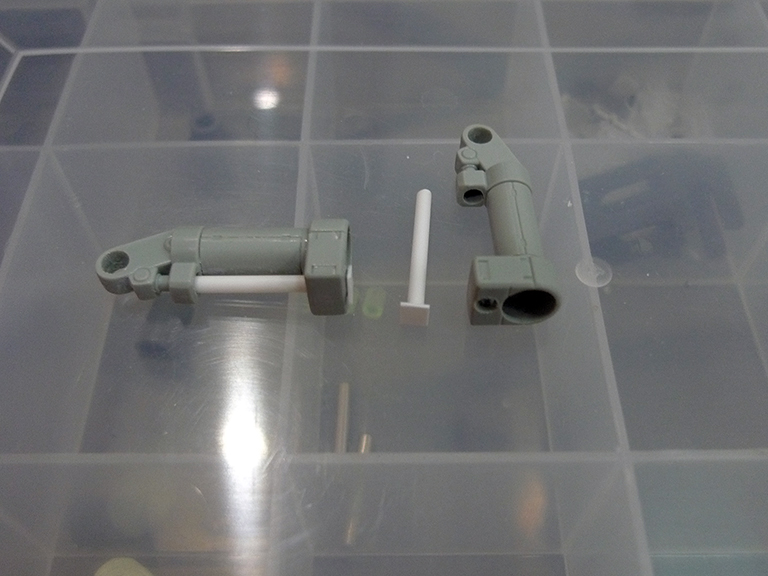
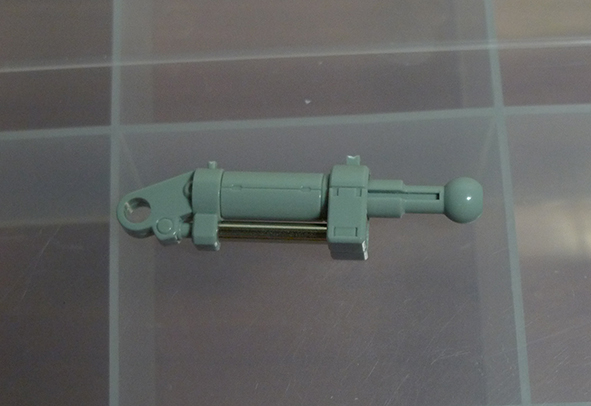
I replaced the original metal rod with plastic rods and glued a piece of pla plate at the end of it to hide the hole that I drilled to allow the rod to slide in.
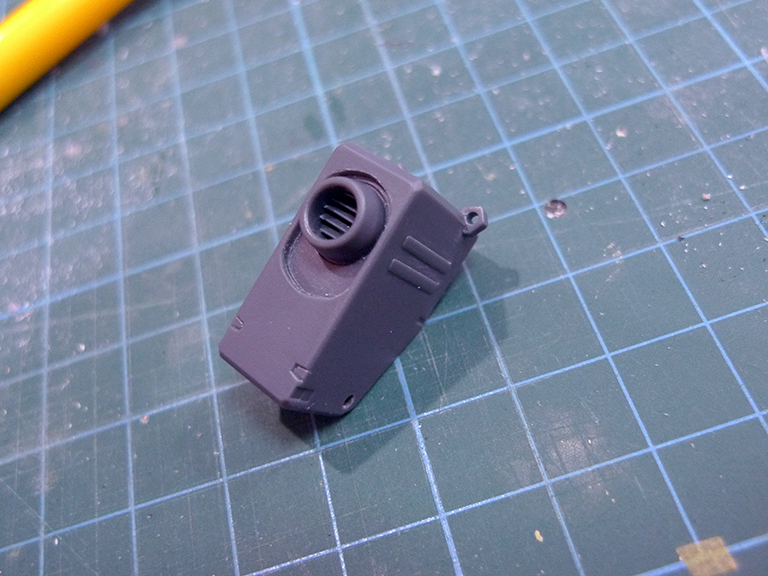
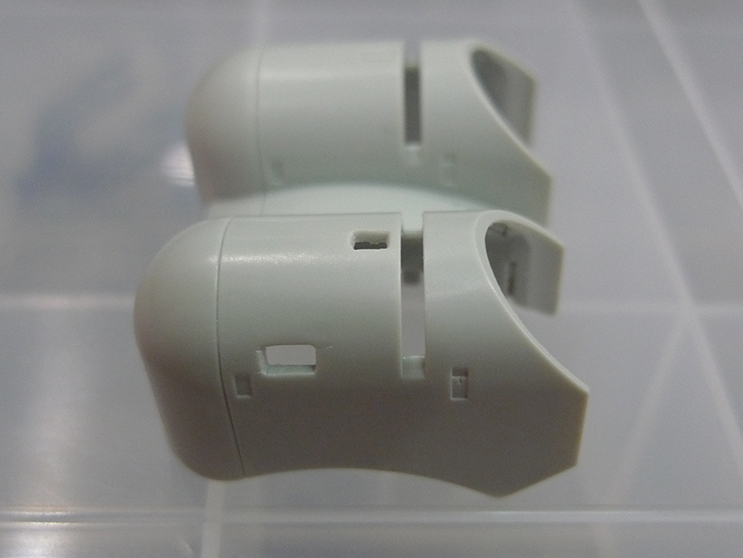
Removed the part at the back of the cannon as I wanted to paint the 'circle' part in a different color and didn't want to mask it. However, after I removed it, I decided to use Kotobukiya's part instead to replace the original one. Also, added pla plates to hover the hole I made to remove the 'circle' part.

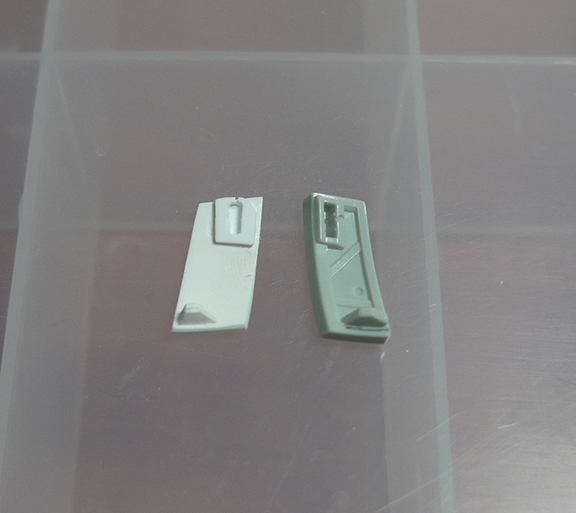
Not sure how, but I managed to lose one of the front armor parts. Was really frustrated so I tried to scratch build the armor my own. It came out 'ok' in the end but I decided not to attach both armors in the end as I couldn't manage to replicate it perfectly and also I thought exposing the internal armors looked good.